Please note: As an Amazon Associate I earn from qualifying purchases. I also work with other affiliate partners and may be compensated from the links below. Details here.
What Is Perspective in Photography and Why Is It Important? (Guide)

Transform boring photos with perspective techniques in photography today!
Photography is not just merely snapping photos. It is guided by a set of rules that any photographer must willingly learn along the way. By mastering the fundamental guidelines, you are one step closer to becoming the pro you always wanted to be.
But is that really all there is to this craft? Can you be considered a really good artist once you master all those rules? The truth is, there is more to it than all the technicalities. In fact, what makes you a good photographer is the degree of artistry you pour into your work.
Perspective in photography is how you see and represent your 3D subject in a 2-dimensional medium. This relates to your point of view as an artist. It is how you show the world the depth, position, and structure of a model without making it look flat. In short, this plays with your creative and artistic side.
In this post, you will learn:
- why perspective is important in photography
- different point-of-views you can apply
…and so many other techniques to add drama and storyline to your images.
Without further ado, let’s begin!
What is Perspective: Photographer’s Standpoint
In the simplest terms, perspective is the way you position your camera with respect to your subject – left, right, up, down, and any angle you might possibly think of. It’s a formal way of “playing” with the elements of photography so that it creates a different impact on various target audiences.
From a more technical standpoint, it is the connection between different objects in one image on a spatial aspect. It’s how you make use of the natural lines and curves of an object to make it appear alive on a flat sheet of paper or on a computer monitor. It’s basically just putting depth into an image.
Is Perspective Really Significant?
For beginners, it’s natural not to think so much about perspective and how it affects pictures. But as you go through your journey and master the technicalities, you’ll learn to appreciate how much this aspect can potentially overturn your artwork.
The truth is…
You can take photos that are technically correct but is still not as appealing as other works you see from some artists. You can have perfectly composed and well-exposed pictures, but it still won’t be as good as the one you saw on social media or art galleries you’ve visited. And you might wonder how all of this almost doesn’t make sense.
Well, that might just be the addition of perspective into the image. It’s one way of adding artistry and drama in a way that hooks your audience to your display. By changing the point of view or angles, you can make even the most trivial object become a center of attraction in an exhibit or even just the cover of your professional portfolio.
But of course, if you’re new to this, you have the tendency to stick to the rules, and unfortunately, playing with perspective often means breaking these standards. When you think outside the box, this is where artistry begins and you’ll realize how much difference it can make.
Types of Photography Perspectives
Well, enough of the boring part! Why don’t we talk about the different ways on how you can play with perspective today? Let’s begin with the more formal types:
Linear

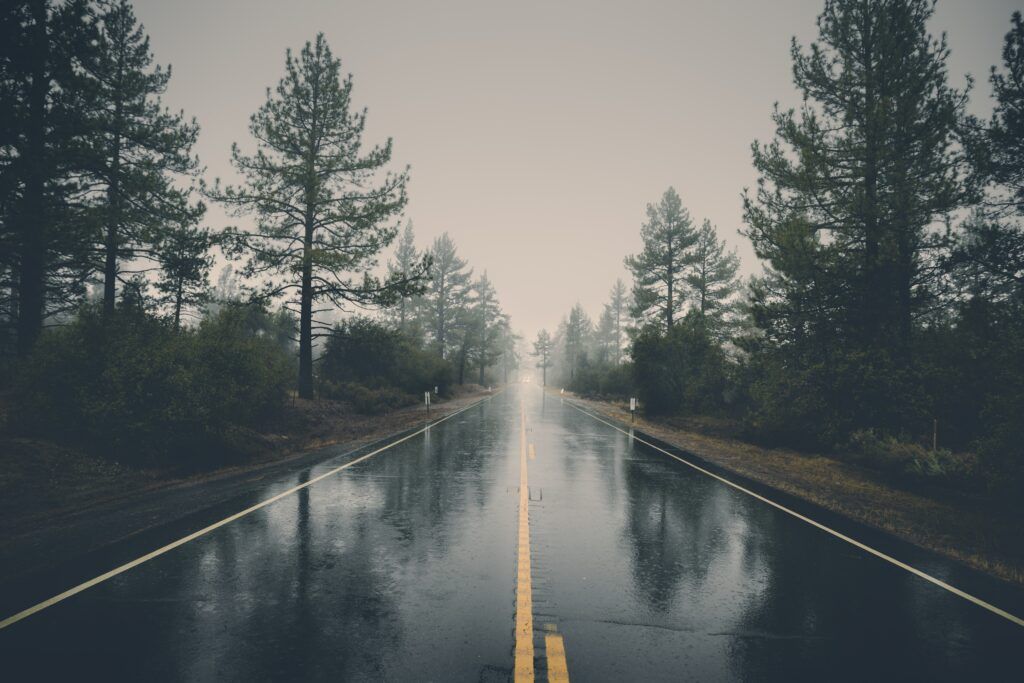
This is one of the most commonly used (also the simplest) techniques by photographers all over the world. It involves the use of lines to create a sense of depth in a photo. You don’t have to force yourself into adding artificial lines to the image. Rather, you make use of the natural shape of your subject to create the illusion.
There are three elements needed to make this work – parallel lines, a vanishing point, and a horizontal line.
One of the best examples would be a photo of a railroad. You have all the elements present to create an illusion that the sides of the train tracks will meet at some point beyond the distance. Once you position your camera at the right angle and make use of the horizon as your vanishing point, your image will look deeper, and the tracks just a bit longer than they actually are.
You can also make use of buildings and other infrastructures for this particular type of perspective. Most often than not, we are drawn to taking photos of a building’s façade. But why not twerk it a little and try shooting from the corners instead? This will make the building look more expanded (elongated, should I say), which gives us the illusion that it has more space in it. But this is a more advanced technique known as a two-point linear perspective much less popular than the first example.
Forced
You might think this one is pretty hard to achieve, but that’s not really the case. In fact, you might have already used this technique without even realizing it.
Forced perspective photography is creating an illusion that an object is closer or farther, smaller or larger. This can easily be achieved by experimenting with visual scales. It’s quite fun and could really produce a quite interesting piece of work when done right.
One very common example is a photo of someone who looks like the moon is in the palm of his hands. In reality, this would never happen unless you have hands as big as the moon (lol). But, you can make it appear like your subject is really holding the moon by positioning the hand as close to the lenses as possible and angling it towards the moon.
With this technique and a little post-processing magic, you will have a magnificent work that will definitely “wow” your viewers.
You can try out other things as well such as creating a fun image of you flicking the Leaning Tower of Pisa or stepping on your peers like you have giant feet. Just let your imagination roll and you’ll have spectacular pictures.
Creative Point-Of-View Photography Styles
While there are more formal techniques for adding depth and drama to your shots, there are also some rather playful and experimental ones you can enjoy. Here are some of them:
If you haven’t heard of lensball photography yet, then you’re missing something. This is a really cool way of changing the point-of-view in the most literal and effortless way. The only thing you’ll need aside from your camera is a crystal ball.
Actually, this style is also called the refraction technique wherein you use the glass ball to change the actual layout of your subject.
Since the light refracts through the glass, you will end up with an upside-down image, creating a unique piece of artwork. This works best when done outdoors, especially in rivers, lakes, and someplace with elements that enhance reflection.
==> Get your own Lensball here!
-
Bird’s Eyeview
This is pretty simple. As its name suggests, you will take photos from the point-of-view of a bird, meaning from the top. Though simple, it can change the way people see your artwork.
For instance, taking shots of buildings from above would look so different than taking it at ground level or through the facade. In fact, you can play around with this point-of-view and see how different things are when seen from above.
-
Worm’s Eyeview
Another term for this is shooting on ground level. This means you will take the shot as if you are lying on the ground, seeing things as an earthworm sees them. When you happen to be in a place with lots of buildings, you will create a really great image of converging lines seemingly stretching high up the sky.
You can also use this style when taking photos in the forest. The trees will look taller and it will give you a deeper view from the ground up.
-
Mirror/Reflections
This is nothing new, for sure. I’m positive you have tried snapping photos in front of a mirror, or through a mirror. It’s quite easy, and very effective as well.
One of the most common examples of this is using the side mirror to take a shot of the vehicle or people behind you. Instead of pointing the lens directly towards the subject, using the mirror will give it just a little bit of spice and drama.
Overlap

Sometimes, no matter how wonderful the scenery looks in person, your camera will not even show half of what it really looks like. Sometimes, you will end up with flat and seemingly boring images that are just too frustrating.
Overlapping is a technique used by many artists, not only photographers. This will add depth to your images effectively. Using this strategy will give your work the illusion of having a 3-dimensional space even if the output is on a 2D canvass.
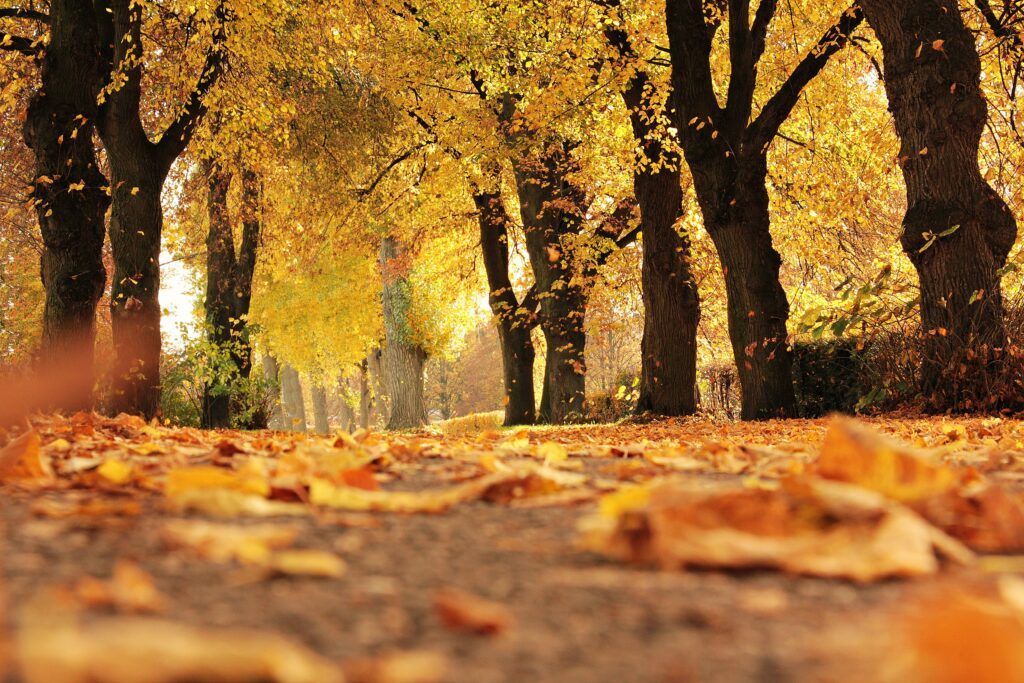
The more layers you put into the image, the more space it represents. Objects in the foreground will cover a portion of those things in the background, making them appear farther than they really are.
This is very useful in landscape and nature photography. You can make use of the trees and create a natural layering of their leaves and branches, adding more texture and a sense of depth into your work.
Diminishing
This has a similar effect to overlapping layers in an image, but not that much. The key here is to make use of the different sizes of objects to create a depth of field that is deeper than there really is. This technique will trick your audience to see smaller images as farther away when it really has the same distance with those surrounding objects that are much bigger.
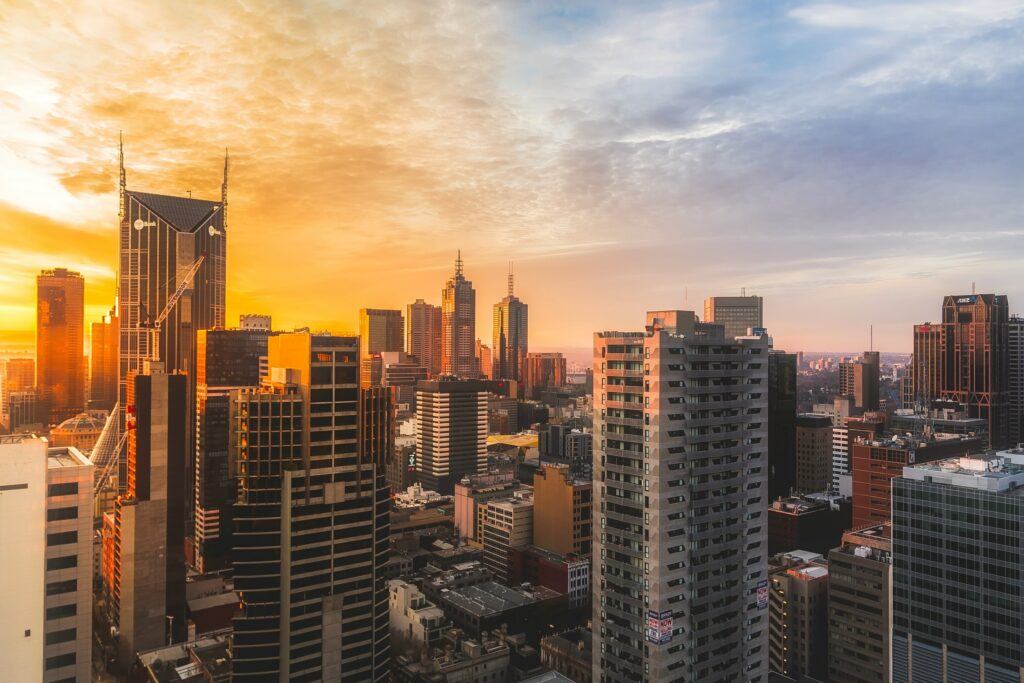
A very good example of this is taking pictures of skyscrapers and surrounding buildings. Naturally, these structures aren’t uniformly sized. This means you can play around a bit, try out different angles, and compose your shot so that it gives off a natural illusion of a bigger and deeper field.
Shooting from the top of a spiral staircase can also be considered a diminishing point-of-view. The subject will look biggest at the top and as it descends, the staircase becomes less prominent, almost becoming like a single point in the photo. However, we all know that in real life the stairwell is just the same size from top to bottom, right?
Aerial

This is a rather challenging technique for photography, but equally rewarding as well. When you learn how to use this, your landscape and nature photos will never be the same again.
In this style, you need to make use of the thick blanket of dust particles, fog, smoke, clouds, or anything that can dampen the tone of the scenery. Including these elements in the shot will give your viewers an illusion that the background is much farther away from the one taking it.
Now, why is this tricky and fulfilling at the same time?
The answer’s quite simple – TIMING. You will need to plan ahead when is the best time to shoot something like this. You will need to keep track of weather forecasts and check the season as well. It’s not every day you get to see a cityscape being covered in thick white clouds or mountain tops hidden by dewy fog.
The more subdued the colors of the clouds or fog, the farther the background will seem to be. This is very helpful if you want to trick your audience into thinking that the area is much bigger and deeper, when in fact it is closer than they can ever imagine.
Final Thoughts

Photography is really one heck of a craft. You have rules to follow, but you also have to think outside the box to make your work more appealing. And sometimes, you will need to bend or break the standards in order to achieve the level of creativity you wish to attain.
But the thing is, you should never be afraid of deviating from the fundamentals and rules. They are guidelines, but you should never forget that art is subjective. What is good for the technical judges, might not just be as good for the ordinary onlookers.
If you can, just learn how to balance technicality and artistry. This combination, though seldom achieved, will make you a truly great artist worthy of appreciation.
Now, I’d like to hear from YOU:
- Do you know of other perspectives that are used in photography?
- Which among the techniques are your most favorites?
- What do you think are the best styles in improving photoshoot artistry?
Let us know your thoughts in the comments section below!
